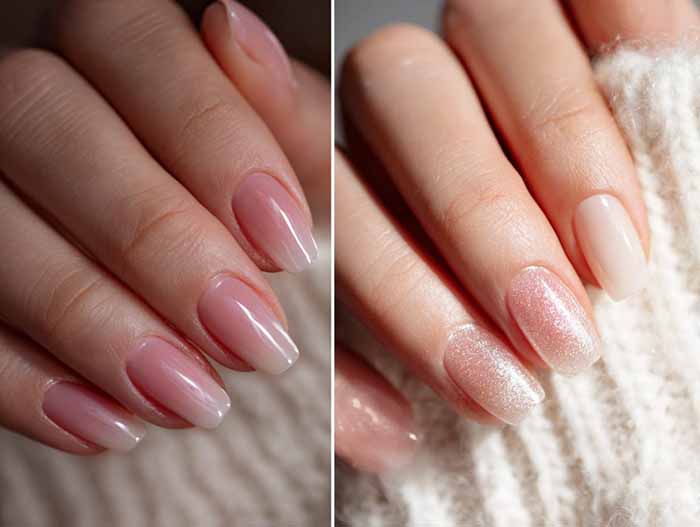
I remember the first time I tried a gel polish manicure. I was sceptical—how could a polish that cures under a lamp be any different from regular polish? But after two weeks of chip-free, glossy nails, I was converted. Since then, I have learned the nuances of gel polish: what it can and cannot do, how it differs from other gel products, and how to get the most out of it.
Here is everything I have learned about gel polish manicures.
Can Gel Polish Only Be Applied to Natural Nails?
No—gel polish can be applied to natural nails, overlays, and enhancements. It is most commonly applied to natural nails, where it adds colour, shine, and protection. It can also be applied over builder gel, hard gel, or acrylic enhancements to add colour and design. However, gel polish should not be used as a structural product. It is a colour coat, not a builder.
If you have weak or damaged nails, you should apply a layer of builder gel before the gel polish. This adds strength and prevents the polish from lifting or peeling. Similarly, if you have nail extensions, gel polish can be applied over the acrylic or gel overlay for a seamless, high-shine finish.
How Is Gel Polish Applied?
The application process is precise and requires attention to detail. Skipping any step can lead to lifting, peeling, or allergic reactions.
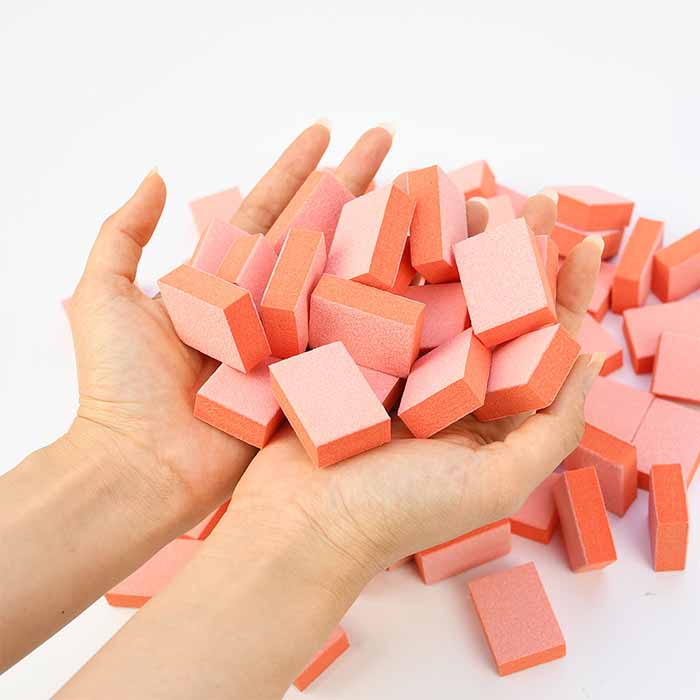
Step 1: Prep your nails thoroughly. Remove any old polish. Shape your nails and gently push back cuticles. Lightly buff the nail surface with a buffer block—this creates a rough texture for the gel to grip. Wipe each nail with a dehydrator or rubbing alcohol to remove oils and dust. After this, do not touch your nails.
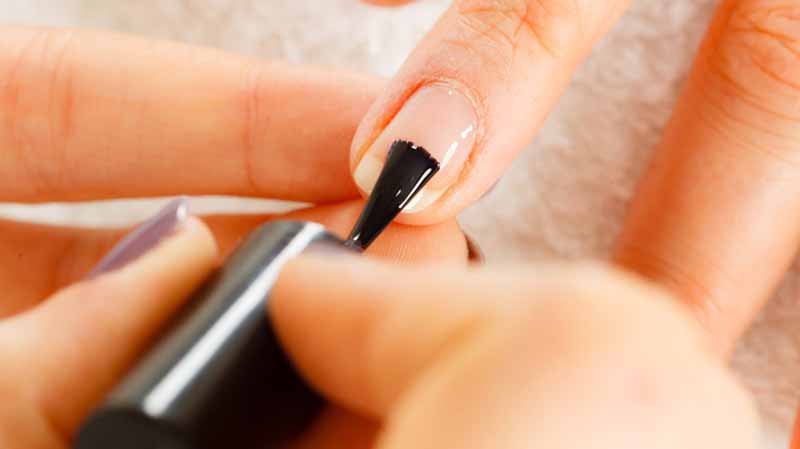
Step 2: Apply base coat. Apply a thin, even layer of gel base coat, being careful to avoid the cuticles and sidewalls. Cap the free edge—run the brush along the nail tip—to seal it. Cure under your lamp for the manufacturer’s recommended time (usually 30-60 seconds for LED, 2 minutes for UV).
Step 3: Apply the first colour coat. Apply a thin, even layer of gel colour. Cap the free edge. Cure fully. Thin layers are essential—thick layers trap air, cure unevenly, and peel faster.
Step 4: Apply the second colour coat. Apply a second thin layer and cure. For sheer colours, a third layer may be needed, but two thin layers are usually sufficient for opacity.
Step 5: Apply top coat. Apply a thin layer of gel top coat, cap the free edge, and cure fully. After curing, some top coats leave a sticky inhibition layer. Wipe it away with a lint-free wipe and alcohol to reveal the glossy finish.
Step 6: Hydrate. Apply cuticle oil to nourish the skin around your nails.
What Is the Difference Between Gel Polish and Builder Gel?
This is a common point of confusion. Both are gels, but they serve different purposes.
Gel polish is a colour coat. It is thin, flexible, and designed to add colour and shine to the nail. It does not add significant strength or structure. Gel polish is applied in thin layers and cured under a lamp. It is removed by soaking in acetone.
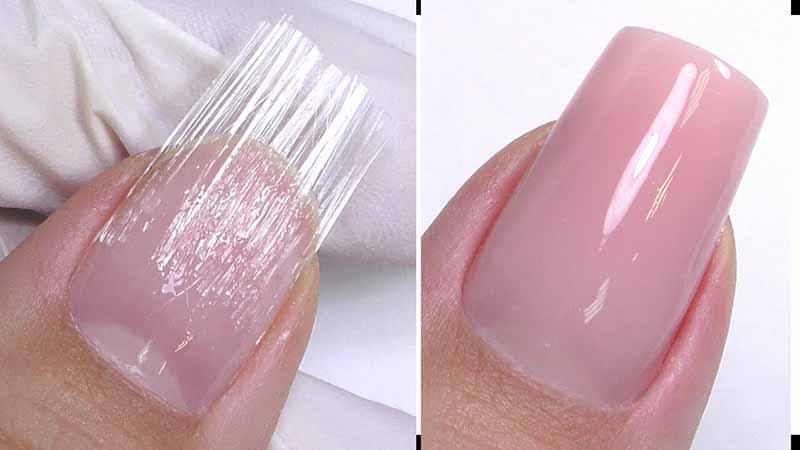
Builder gel is a structural product. It is thicker and more viscous than gel polish. It is used to add strength, build an apex, correct nail shapes, and create extensions. Builder gel is applied in thicker layers and often requires more filing and shaping after curing. It can be soak-off or hard, depending on the formula.
Think of gel polish as the paint and builder gel as the framework. Builder gel creates the structure; gel polish adds the colour. For weak or damaged nails, builder gel provides the support that gel polish alone cannot.
Is Gel Polish Easy to Remove?
Yes, gel polish is designed to be removed by soaking in acetone. This is one of its key advantages over hard gel or acrylics.
The removal process: File off the shiny top coat to break the seal. Saturate a cotton ball with 100% pure acetone and place it on the nail. Wrap the fingertip tightly with aluminium foil. Wait 10-15 minutes. The gel should soften and can be gently pushed off with a wooden cuticle pusher. Never scrape or force it—this damages the natural nail.
Important: Acetone is drying. Always apply cuticle oil after removal to rehydrate the nail plate and surrounding skin.
Current Gel Polish Trends
Gel polish is a versatile canvas for a wide range of designs. Here are some of the most popular trends.
Micro French. A classic French tip but scaled down to an ultra-thin white line at the very edge of the nail. It is subtle, sophisticated, and works on any length.
Ombré and gradient. A seamless blend of two or more colours, from light to dark or one colour to another. Ombré is soft and elegant, perfect for a modern look.
Cat-eye magnetic gel. A gel polish containing tiny magnetic particles. When a magnet is held over the wet polish, it creates a shimmering line or pattern that shifts in the light. Cat-eye nails are popular for their depth and shimmer.
Glazed donut (pearl finish). A sheer, milky white base with a pearlescent shimmer that catches the light. It is subtle, luminous, and elegant—the nail equivalent of glass skin.
Chrome and metallic finishes. A mirror-like, high-shine finish that reflects light. Chrome powders are rubbed into a tacky top coat, creating a metallic effect.
Negative space designs. Leaving parts of the nail bare, creating modern, minimalist designs. This trend is all about clean lines, geometric shapes, and a touch of edge.
Bold, saturated colours. Bright, unapologetic colour continues to dominate, especially in summer. Vibrant shades of pink, coral, and blue are trending.
The Bottom Line
Gel polish is a versatile, long-lasting, and beautiful way to add colour and shine to your nails. It can be applied to natural nails, overlays, or enhancements, and it pairs perfectly with builder gel for added strength. The application process requires precision, but with practice, it becomes second nature. Removal is simple with acetone, but always treat your nails with care. Whether you prefer a classic nude, a bold neon, or an intricate design, gel polish offers endless possibilities for creativity and self-expression.
Read also: Why is the top coat an indispensable element of a manicure?
One thought on “The Complete Guide to Gel Polish Manicures: Application, Differences, Removal, and Trends”